


LightningChart JSData Visualization with Ionic Capacitor, Angular & JS Charts (Part 2)
TutorialContinue Ionic app development for iOS & Android with Ionic Capacitor
Written by a human | Updated on April 10th, 2025
Beginning Ionic App Development with Capacitor, Angular & LightningChart JS
[This is the second part of the article “Data Visualization with Ionic Capacitor, Angular & JS Charts (Part 1)“]
In the previous article, we created an Angular app using the Ionic framework and in this article, you will have a functional mobile application capable of displaying charts with scientific capabilities and an incredibly attractive interface for any potential client.
So, it is highly recommended to look at the first Ionic article to have your project template ready for coding. If you’re new to Android, check out the Android charts with LightningChart JS article. In that article, I explained how to configure your computer (Windows) so that Android Studio works. That setting is required for this article. So, let’s start.
Project Overview – Part II
This second part will be more straightforward and focus on running commands to generate both Android and iOS charting applications with Ionic Capacitor, Angular, and LightningChart JS.
About LightningChart JS
LightningChart JS “lcjs” is a JavaScript charting library specialized in high-performance visualizations powered by WebGL-rendered graphics and GPU acceleration. In this demo Ionic capacitor application, we’ll use three different charts: surface grid charts, LineSeries, and Pie charts but you can freely select any charts you need from the 100+ interactive js charts.
Now, let’s begin the final part of this project with a quick look into the final mobile Ionic Capacitor charting applications:

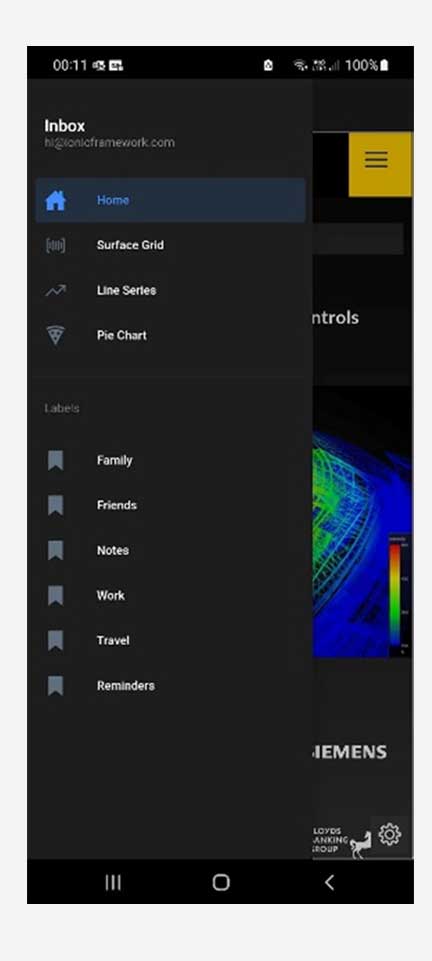
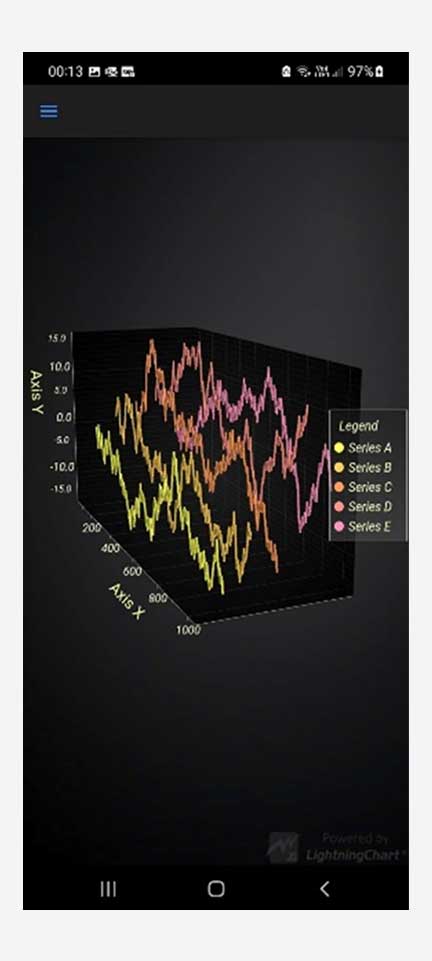
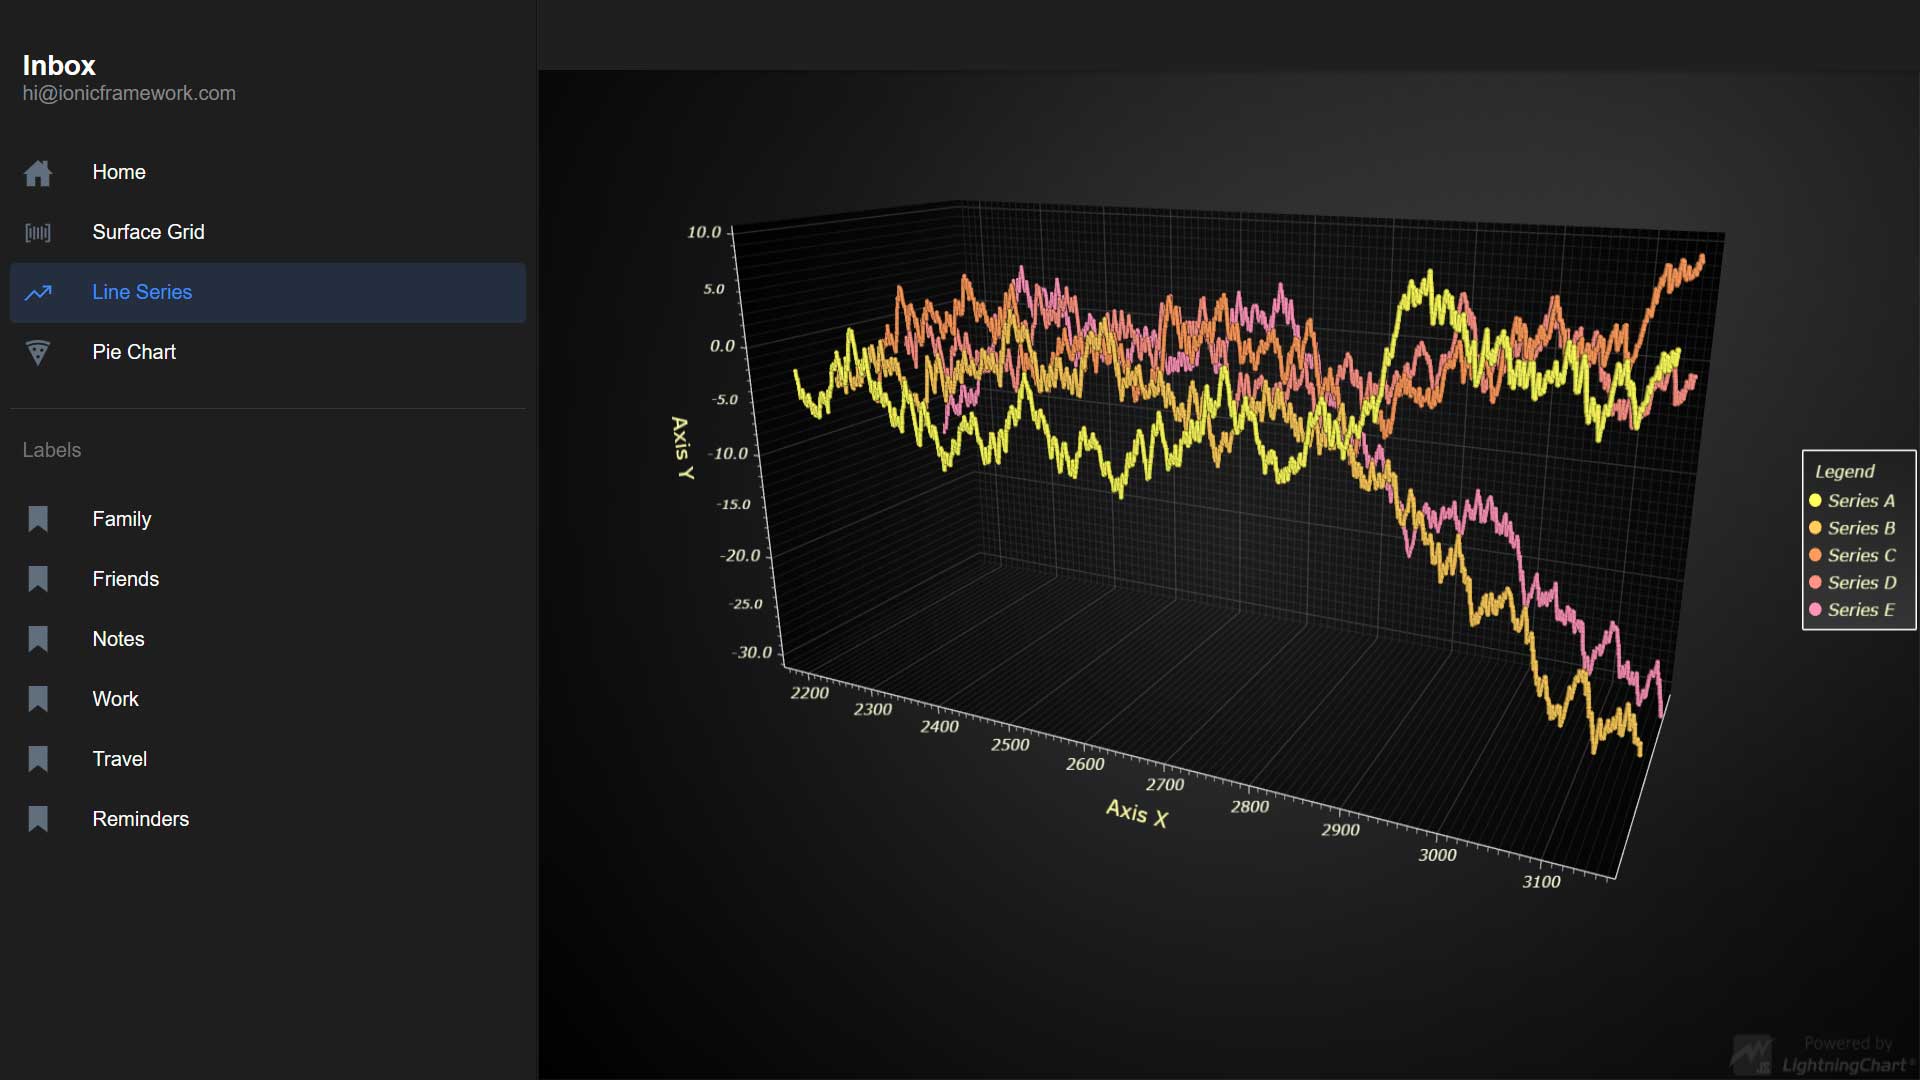
Android data visualization application UI + LineSeries chart
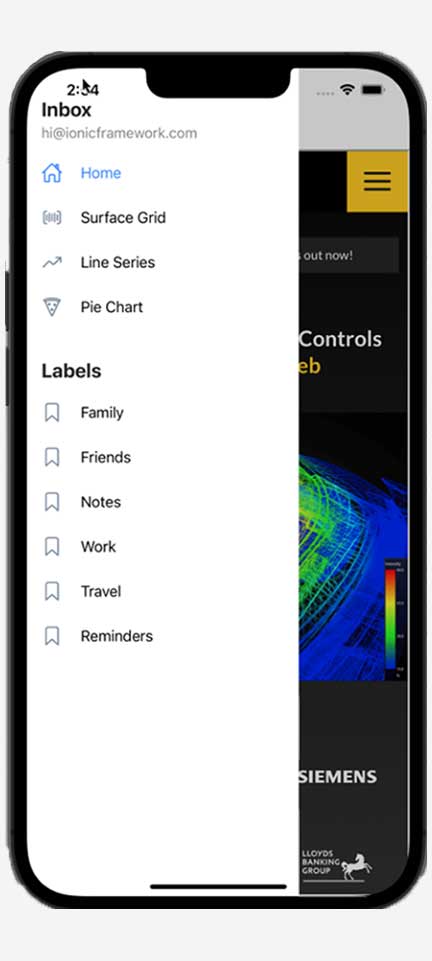
iOS data visualization application UI + LineSeries chart

Please download the template to follow the project. Notice that the template will be used in both articles Part 1 and Part 2.
 Download the project to follow the tutorial
Angular
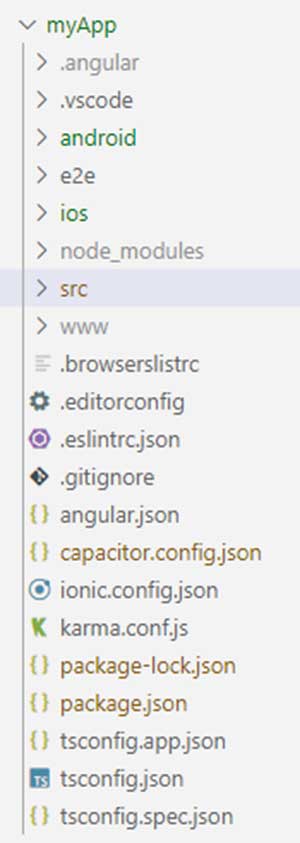
As I mentioned, in the past article we created an angular project that is compatible with Ionic. Your current project should look like this:
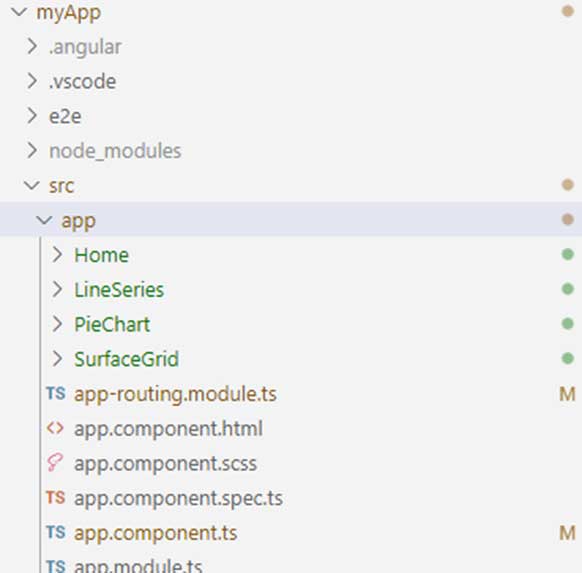
As you can see, we have 4 components, Home and 3 charts. If you download the template, you will have to run the command: npm install. We should compile the application to verify that we don’t have errors. Please open (right-click) an integrated terminal for myApp folder and run the command: ionic serve. If the compilation is successful, you will see the web application running in a browser:
In the terminal we need to run the next command:
ionic buildThis command will create a [www] folder. This folder contains our compiled code and it helps to create the Android and iOS folders.
iOS & Android Ionic Capacitor Apps
We need to install a capacitor to our project, and for this, we must run some commands. Open a new terminal for [myApp] folder.
1, Installing capacitor core, run:
npm install @capacitor/core2, Installing capacitor CLI, run:
npm install @capacitor/cli --save-dev3. Installed Capacitor, we can start with the properties for our application. Run the command:
npx cap init
4. Capacitor will ask for the name of the application. We need to specify the same name of our current project, if not, Capacitor will create a new instance.
5. After specifying the name of the app, we need to specify the package ID. The package ID is unique and this will work as an identifier of the app in digital stores. I choose the same name as the folder project.

6. Now we need to install the Android and iOS platforms in our project.
Android Command, run:
npm install @capacitor/androidiOS Command, run:
npm install @capacitor/ios7. Now we can create Android and iOS folder projects.
For Ionic app development with Android, you can work on Windows and macOS, but for iOS, is necessary to run the entire process on a Mac computer.
Android Command, run:
npx cap add androidiOS Command, run:
npx cap add iOSThe iOS command can be executed on a PC, but you will have issues with some dependencies:

NOTE: If you need to make changes in your code, you will have to run the [ionic build] command, to compile the project with the latest changes. To update the Android/iOS project with the compiled folder (www) you will need to run the command:
npx cap syncRunning Android App
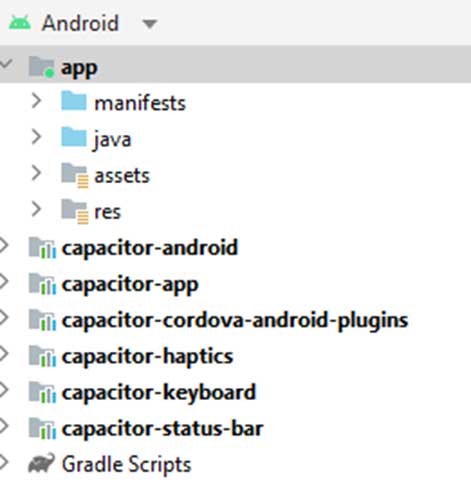
Once we created the Android project, you will have this project structure:
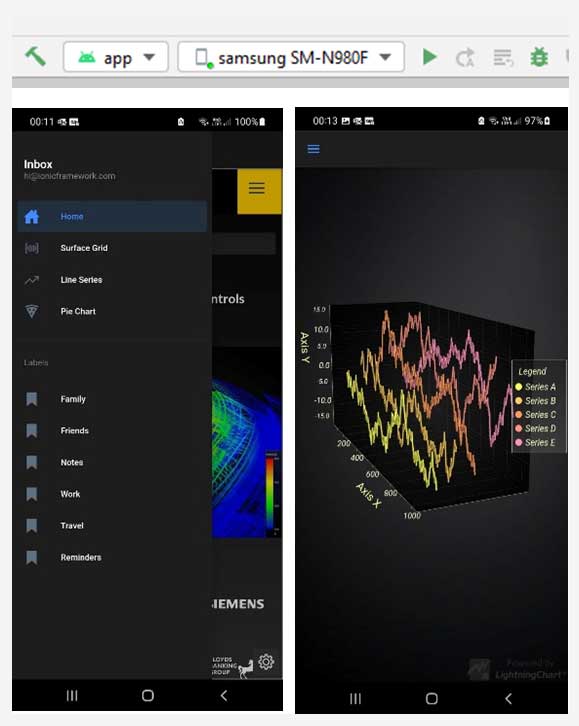
If your computer has Android Studio and JDK correctly configured, we can continue. The following command will open an Android emulator with your application:
npx cap run androidSometimes the emulators can have conflicts with the computer, so I recommend using the Android Project with Android Studio. You can go to Android Studio and open the Android folder, or run the following command:
npx cap open androidThat command will do the work for you and will open Android Studio with your Android project.
You can configure an emulator or connect your Android device to your computer and run the application.
Running iOS App
To continue with this step, you will need a mac computer. I recommend that this has the updated operating system since it will allow you to install the most recent version of XCODE. XCODE will allow you to emulate, validate and publish iOS mobile applications. You will be able to publish your application directly to your apple developer account.
One of the great advantages of working with XCODE is that as long as you have everything up to date (including certificates and developer profiles), it will exemplify the work of compiling, validating, and publishing your application.
For iOS, you will need Visual Studio Code and Node JS.
You can open the Angular project and execute all commands of the previous steps:
- npm install
- ionic serve (validate application in browser)
- ionic build
- npx cap init (specify the name and bundle ID)
- npm install @capacitor/ios
- npx cap add ios


To open the iOS project with XCODE, you can run the following command:
npx cap open ios
Just select an emulator or connect your iPhone to your MAC computer and run the app.
Ionic App Development in Android & iOS
Now we are done with mobile Ionic app development. One of the objectives was to demonstrate the great capacity of the Lightning Charts JS library, to be implemented in all kinds of projects.
From a simple HTML page to a desktop application, using electron JS, creating a simple mobile application using Quasar JS, and now building an Android and iOS app, using an Angular application in conjunction with Ionic Capacitor.
In all developments, the LightningChart JS’ implementation was almost the same. Practically, we should worry more about the structure of the project than about having to modify our charts or having to adapt them to a new framework.
The result is simply spectacular and allows us to imagine the large number of solutions in which we can implement Lightning Charts. It was a pleasure to have been able to share brief knowledge and experience in this type of project about Ionic app development.
If you want us to delve into some of these projects, you can contact us at [email protected] or send me a message on LinkedIn, I’ll be happy to help. Thank you very much for reading.
Learn more about LightningChart JS

Omar Urbano
Software Engineer
Continue learning with LightningChart
Elliott Wave Theory in Trading
Financial markets often appear chaotic, but many traders believe that price movements follow recurring patterns driven by human psychology. One of the most influential approaches based on this idea is the Elliott Wave Theory. Developed nearly a century ago, it remains one of the most widely studied methods of technical analysis.
The Head and Shoulders Pattern in Technical Analysis
The Head and Shoulders Pattern in Technical Analysis The Head and Shoulders Pattern in Technical Analysis The Head and Shoulders pattern is one of the most recognized and widely used chart patterns in technical analysis. It is considered a reliable reversal pattern...
Best Telerik Charts Alternative in 2026: GPU Performance for WPF, WinForms, and Web
Telerik from Progress is a comprehensive UI component suite covering WPF, WinForms, ASP.NET, Blazor, and JavaScript. The charting components: RadChartView for WPF and WinForms, and Kendo UI Charts for web and Blazor, arrive bundled with the suite purchase. For teams...


If you have any questions, feel free to contact us!
©LightningChart Ltd 2026. All rights reserved.