


LC JS WordPress plugin
One of the strengths of the LightningChart® library is its adaptability across web platforms and WordPress is a particularly widely used platform that harnesses the capabilities of an advanced data visualization plugin. With the introduction of the new LightningChart® JavaScript WordPress plugin, users are able to easily create, update, manage and embed a variety of interactive charts and visualizations within their posts and pages. The easiness of handling the WP plugin supports every user to easily install the plugin, add data, and bring interactive visualizations upfront on their own website.
Here on this page, you’ll find useful information on how to get started and accessible documentation files for you to download and start using the new LightningChart® JavaScript WordPress Plugin.
Step 1
To install the free version of LightningChart JavaScript WordPress Plugin:
– Go to GitHub,
– Search for “lcjs-wordpress-plugin”
– Download the .zip/.rar file

Step 2
After downloading, copy all the files of the plugin in a new folder and rename the folder as “LC-JS”.

Step 3
After renaming the plugin, add the plugin folder to Xampp > htdocs > wordpress(Project folder) > wp-content > plugins > LC- JS

Step 4
Login to WordPress Admin panel and activate the plugin from the plugin list.
The plugin will be ready to use where Xampp installation must require.

Step 5
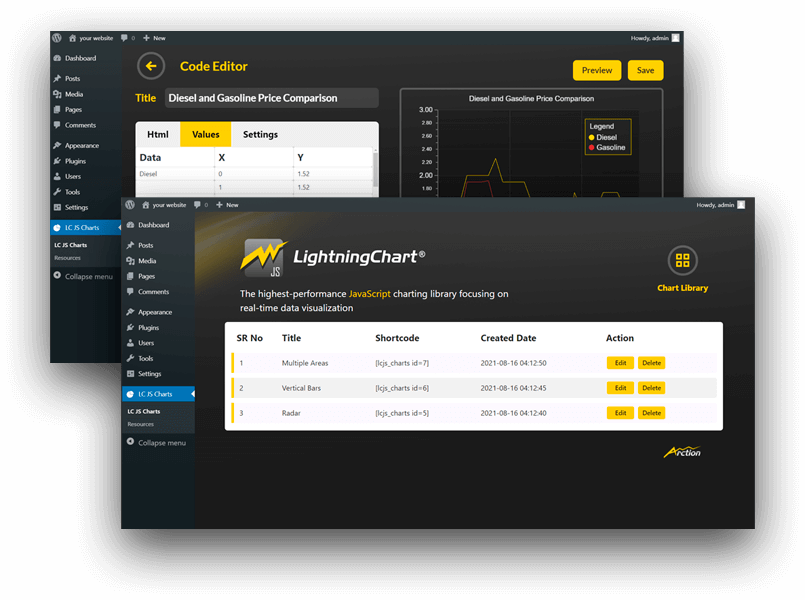
To create a chart with the LightningChart JavaScript WordPress Plugin, the user must add HTML code and JavaScript code. Also, users can set height and width to display the chart. Shortcode will be provided to get a visual view of the chart on site.

You can also use a built-in PHP function to invoke the chart anywhere in your template.
`<?php code(do_shortcode('[Lcjs_charts id=$chart_id]')); ?>`
Applying the license key will also remove the watermark.
Happy publishing!
If you have any questions, feel free to contact us!